|
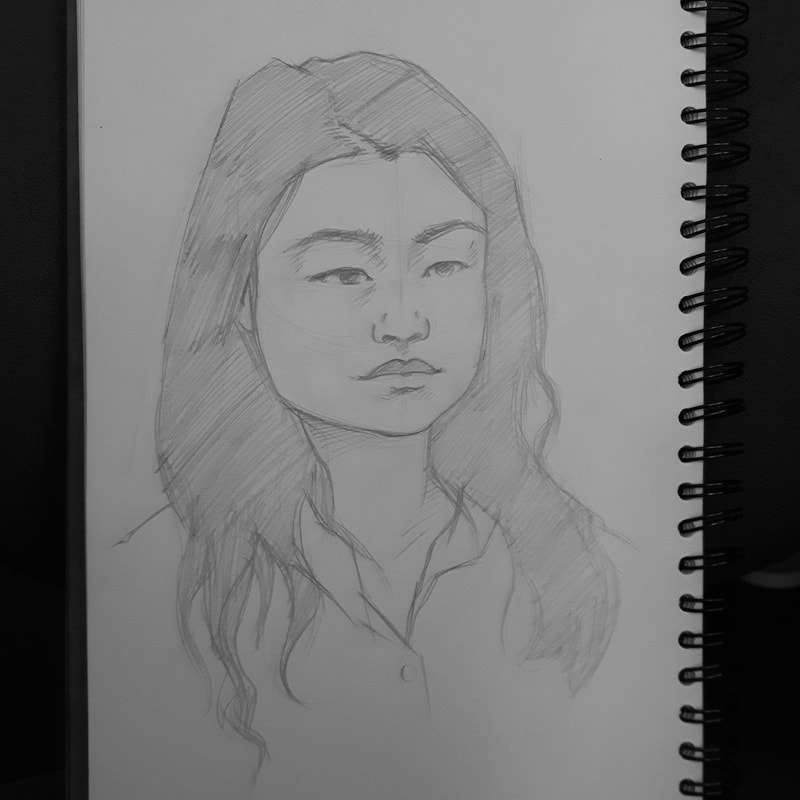
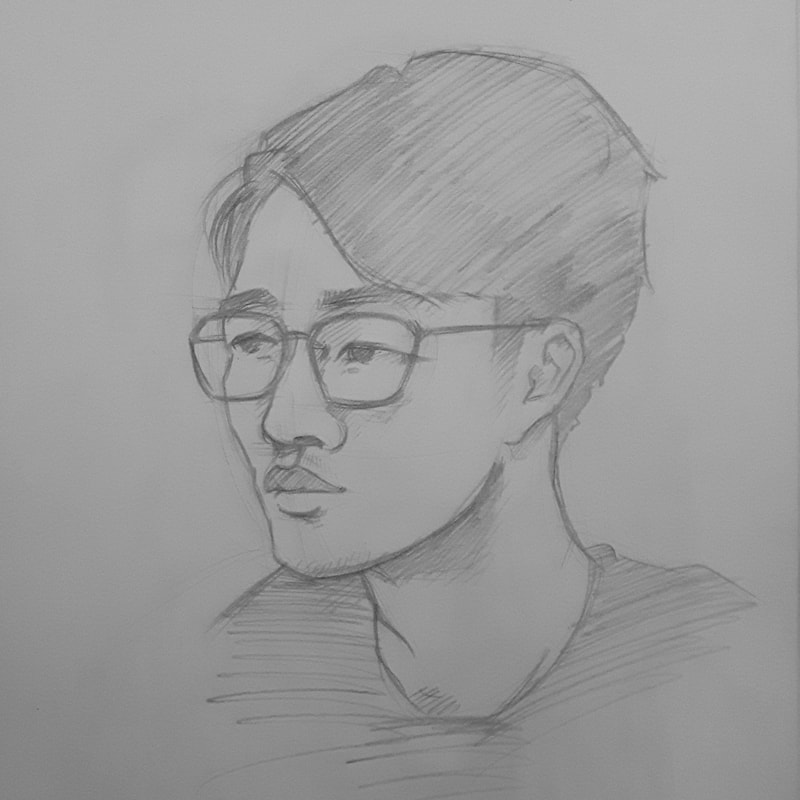
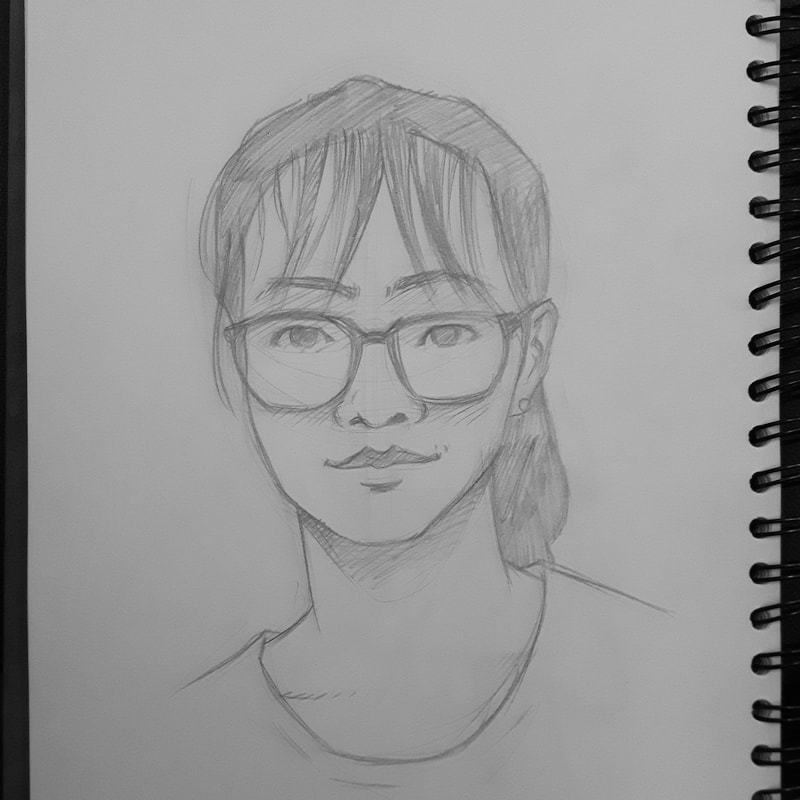
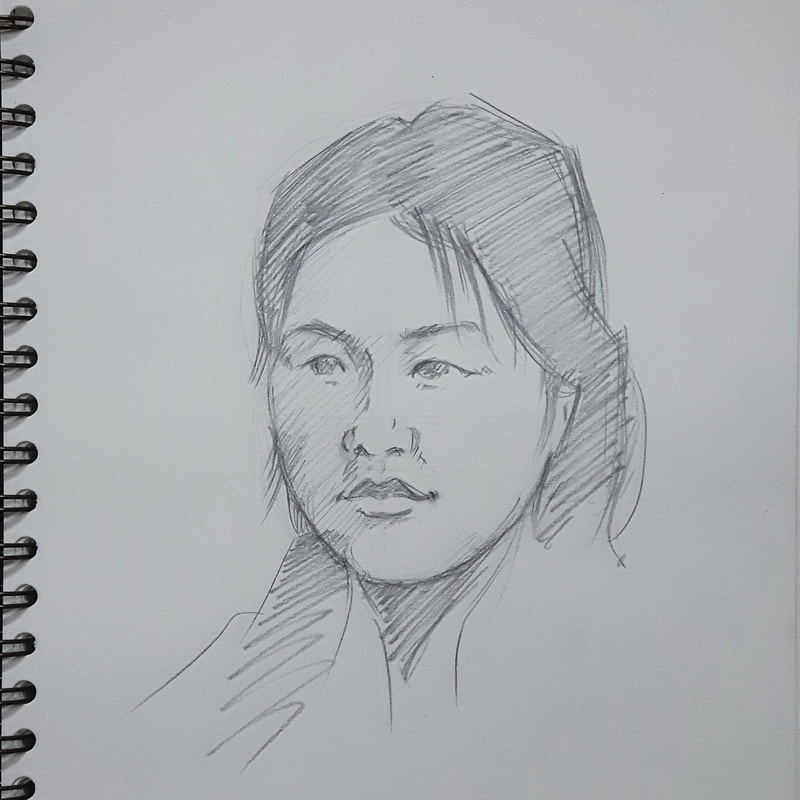
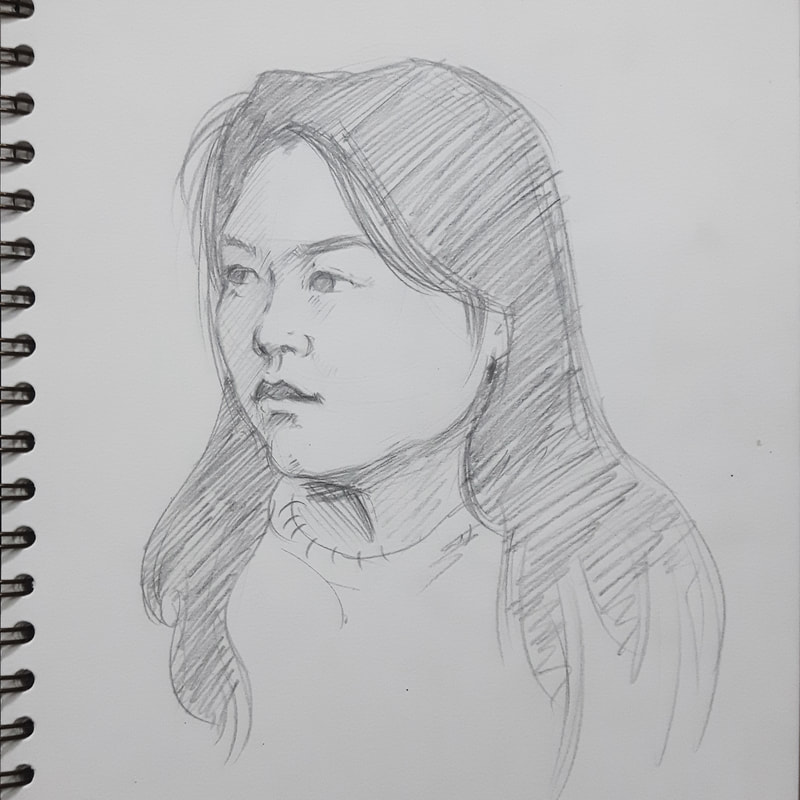
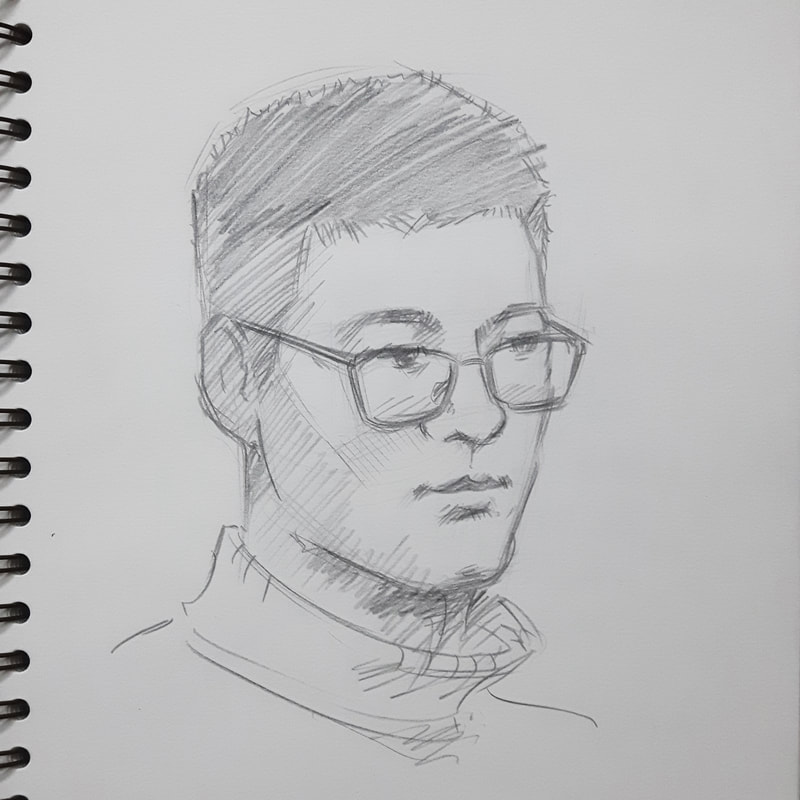
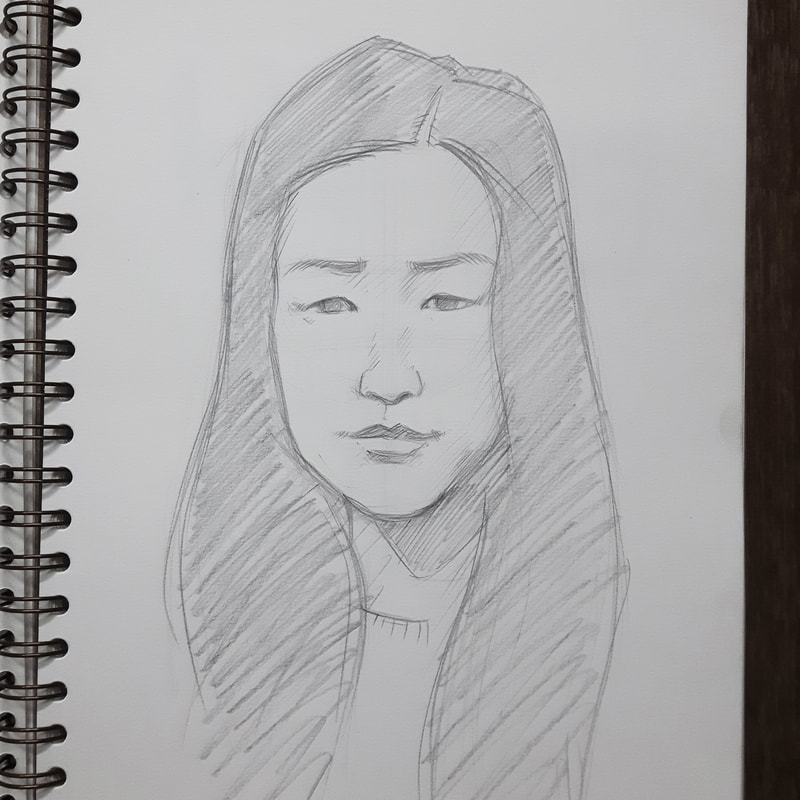
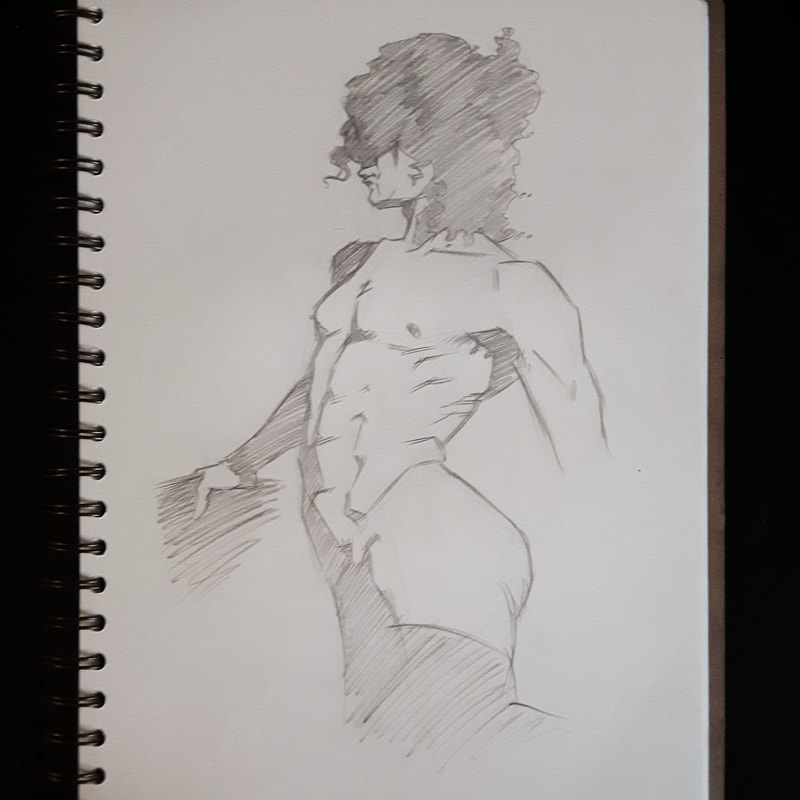
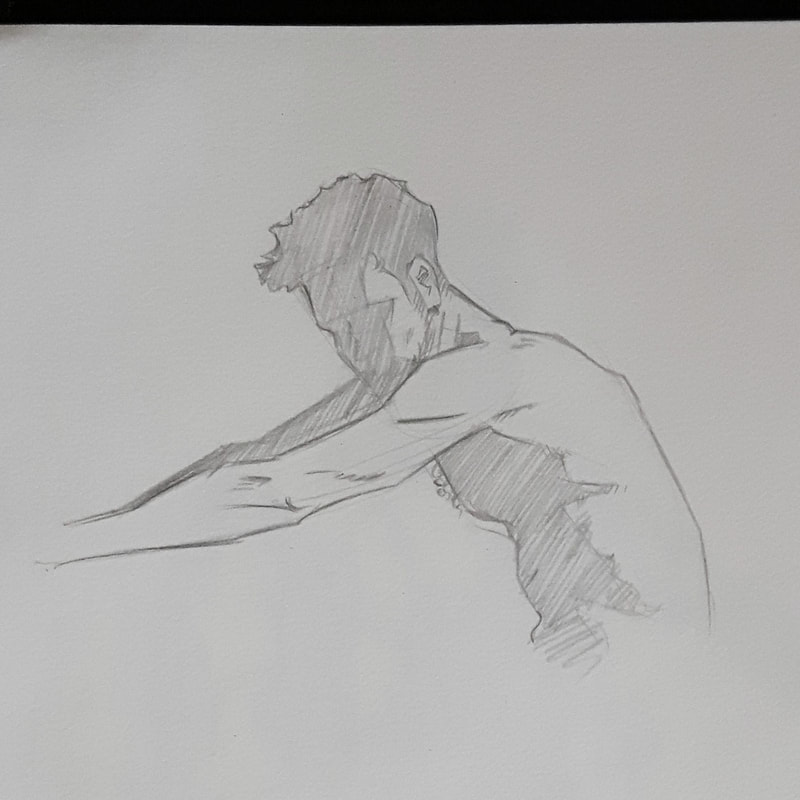
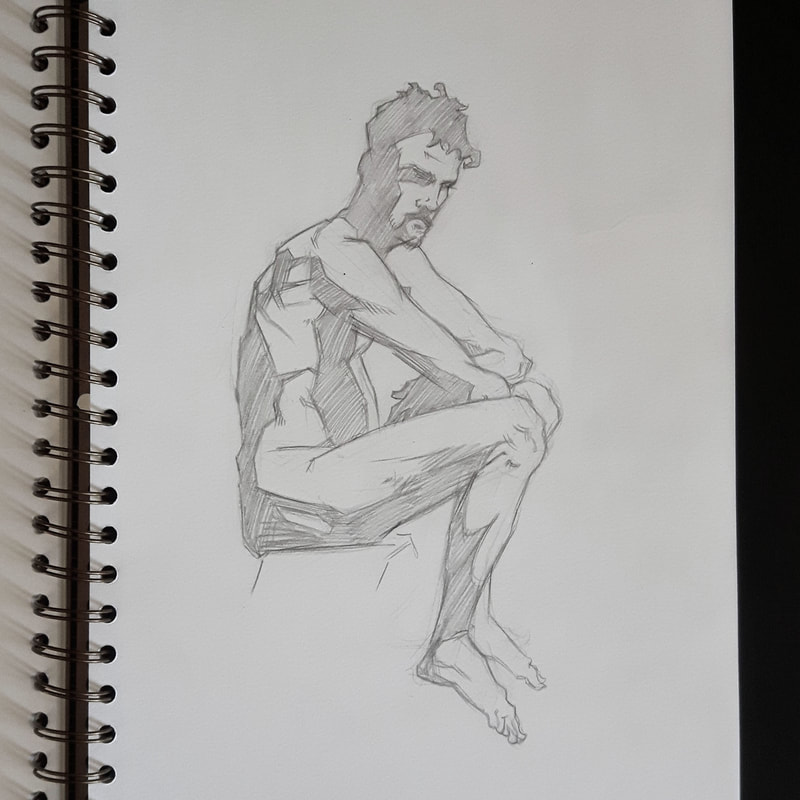
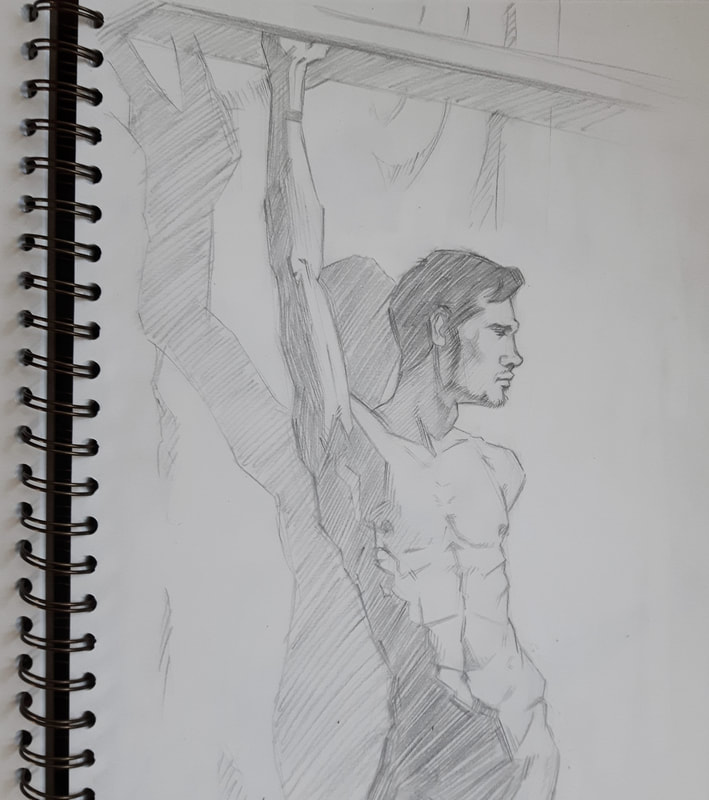
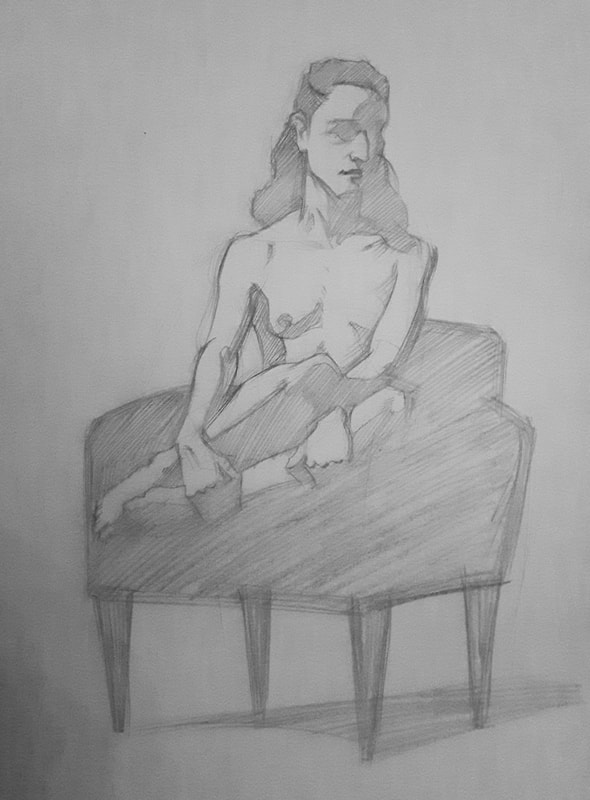
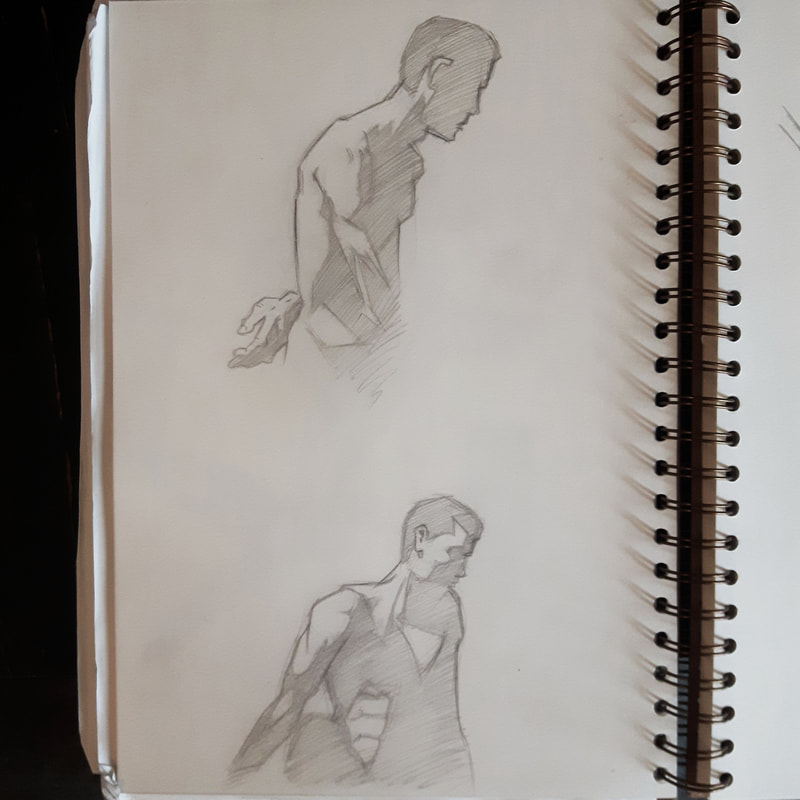
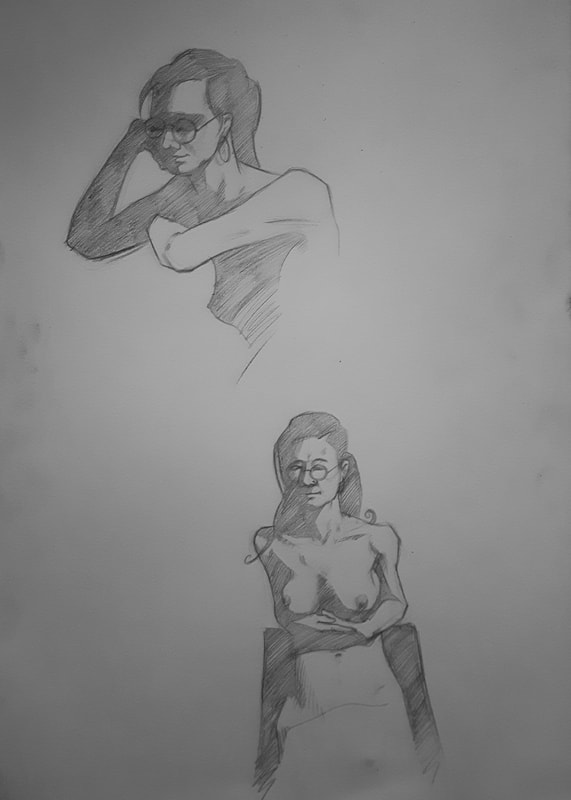
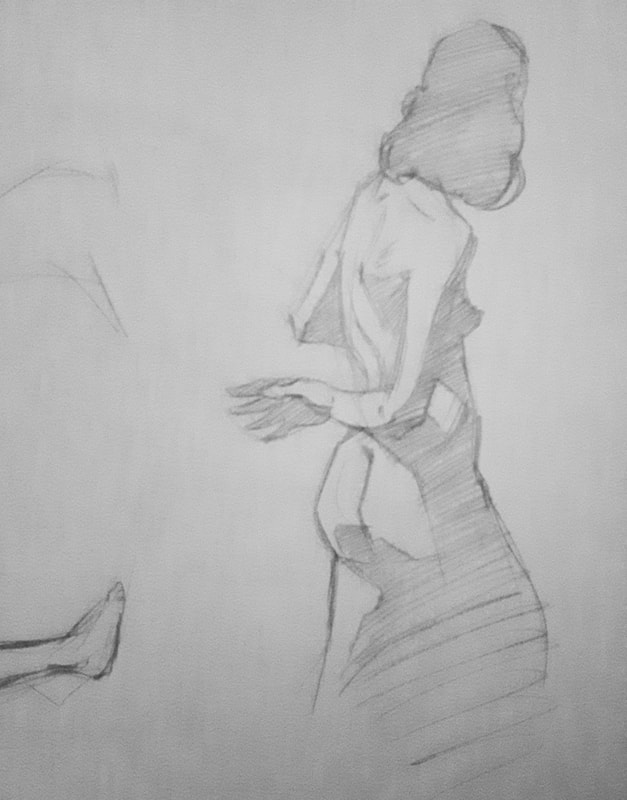
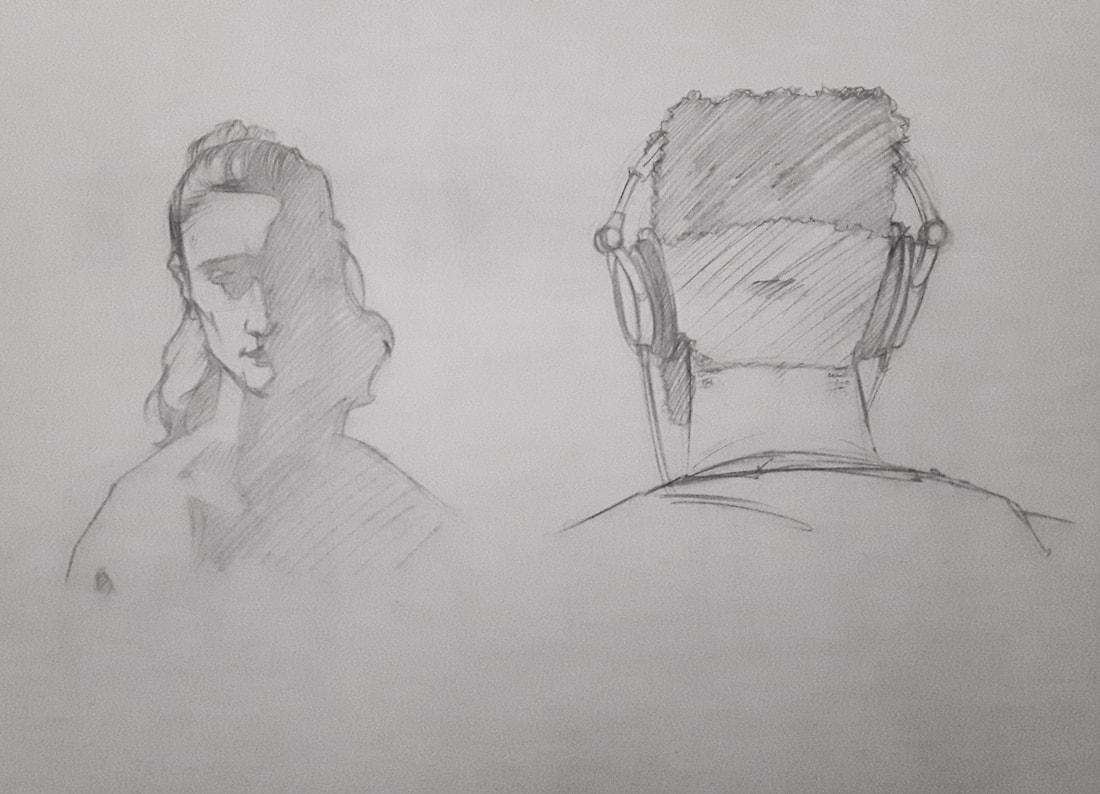
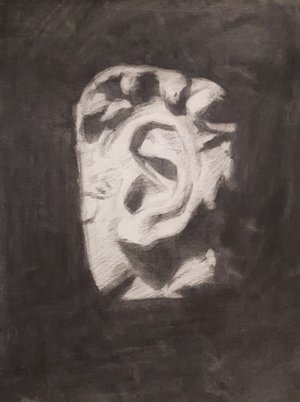
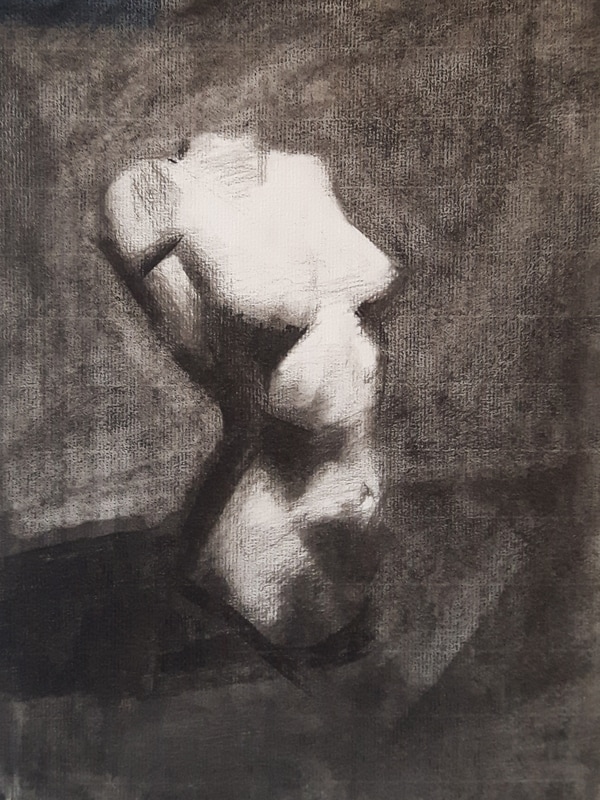
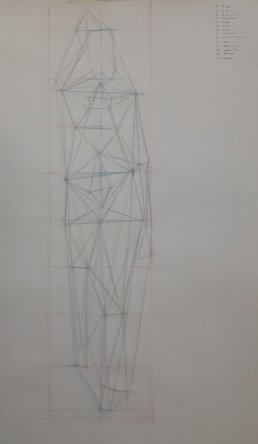
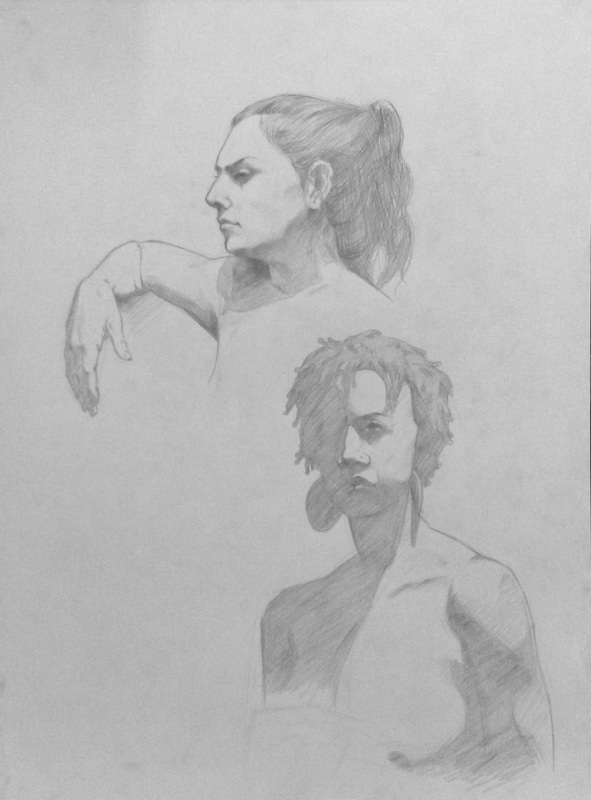
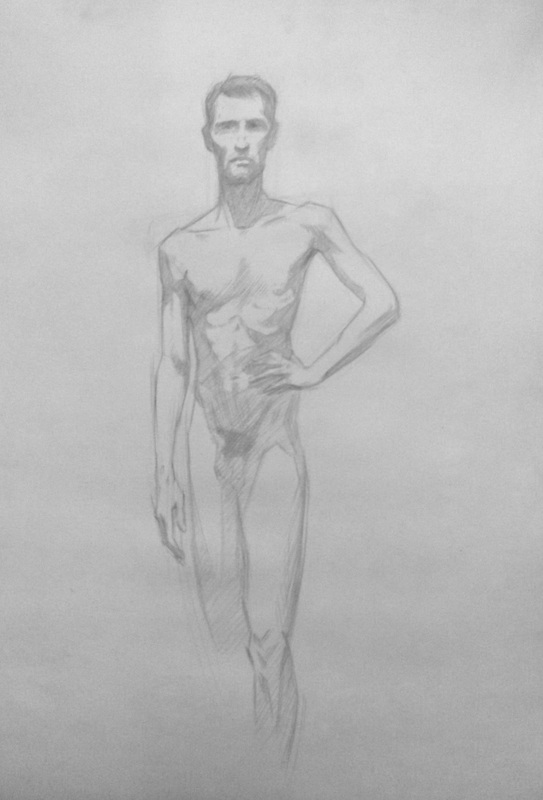
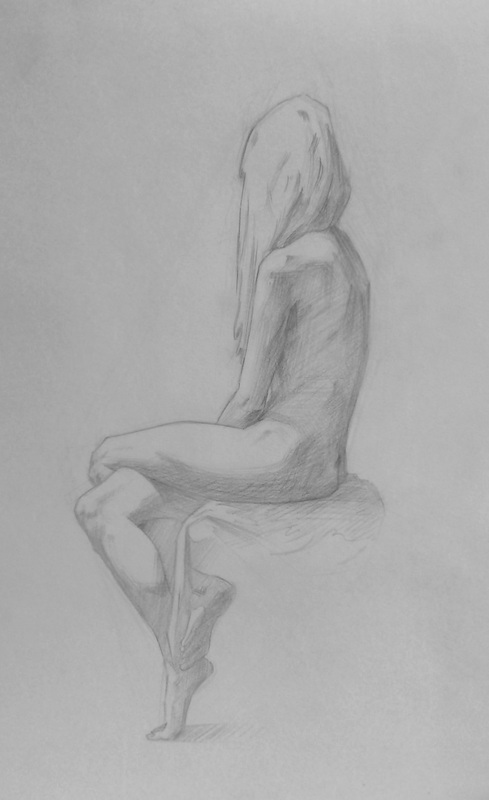
I noticed that many of my students in China don't get enough life drawing experience so I started running portrait drawing workshops in my office. We all took turns modelling for each other or drawing other students in the canteen. Here are some of my drawings: 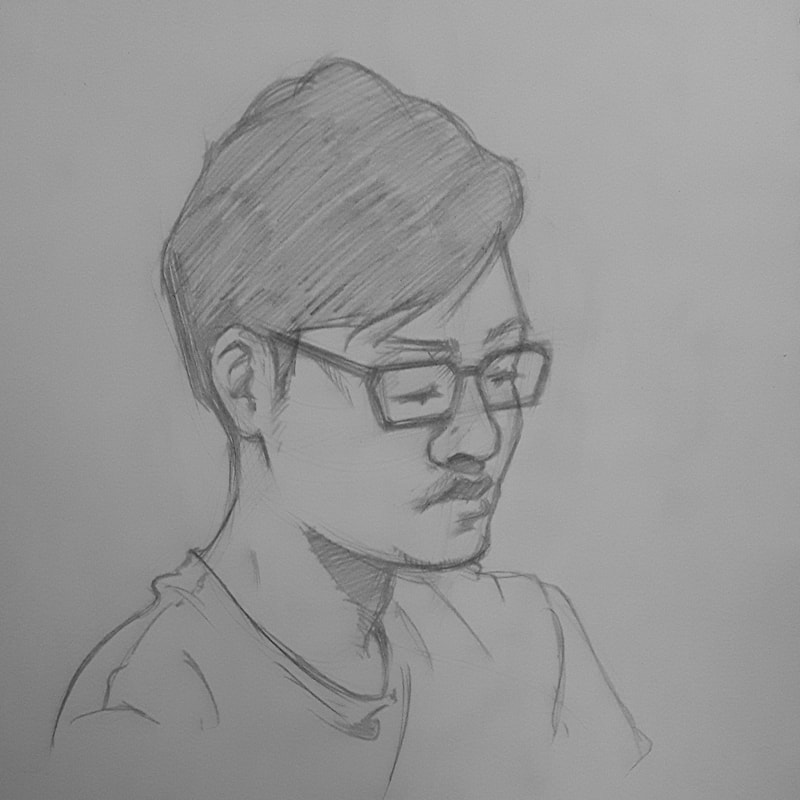  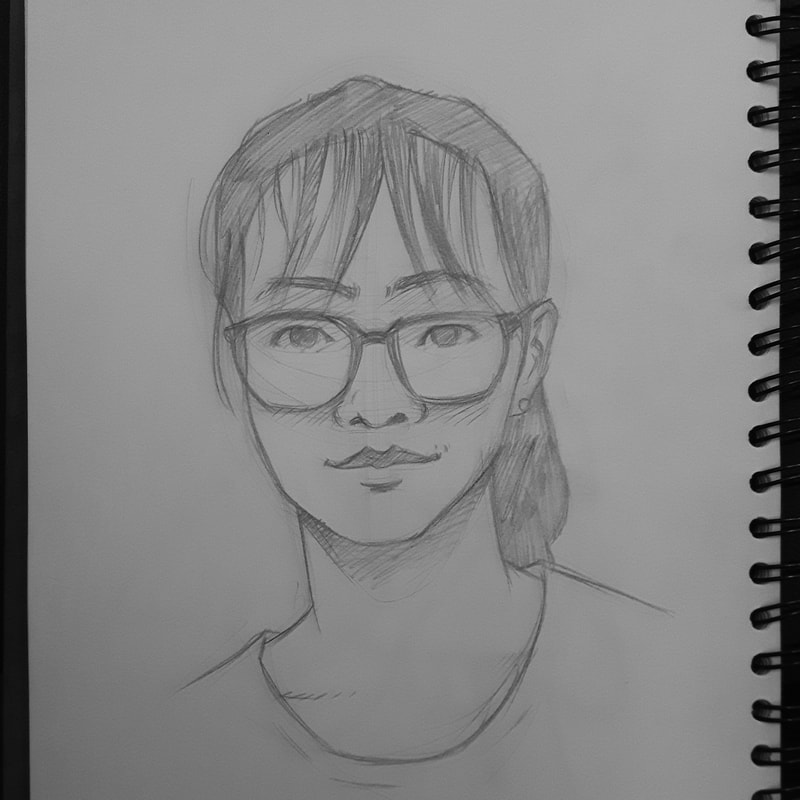 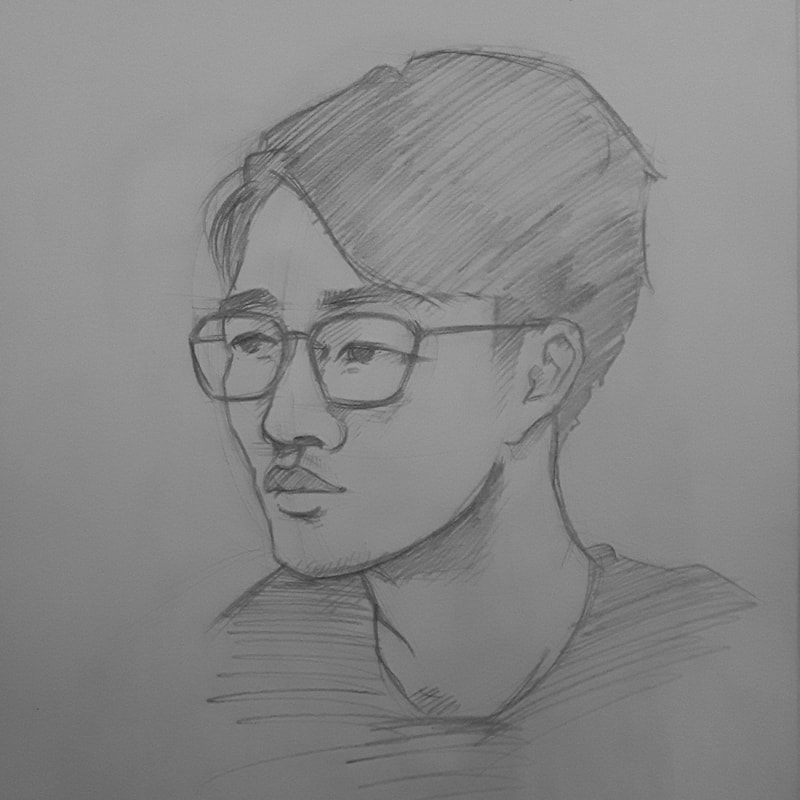 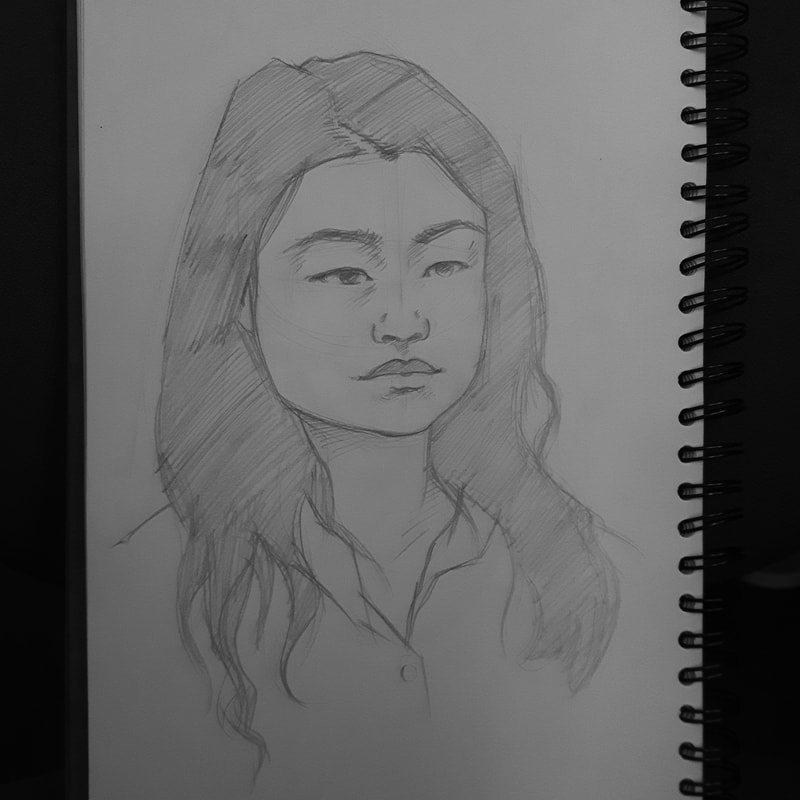 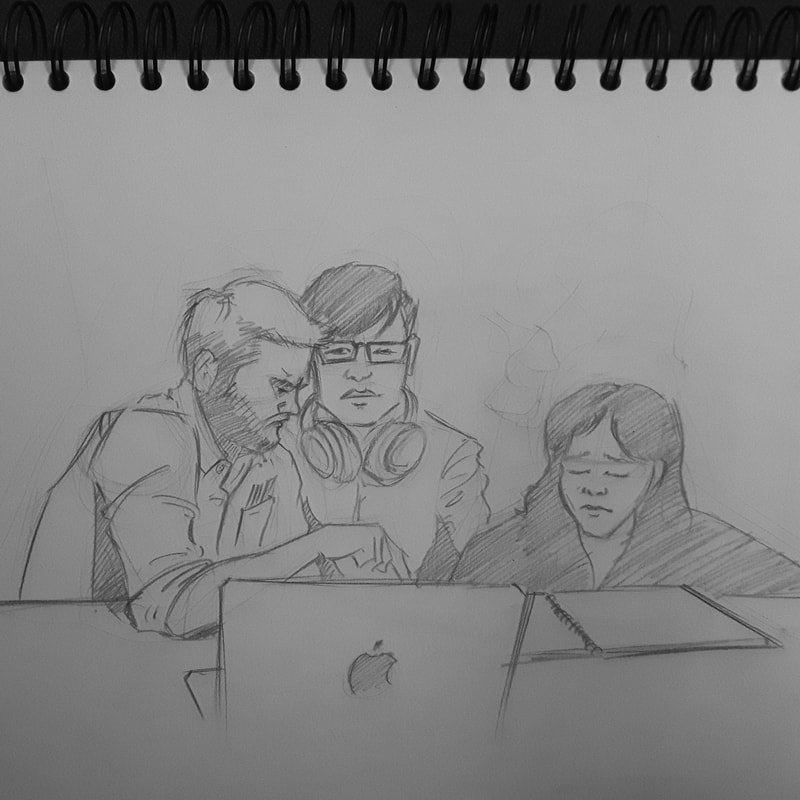 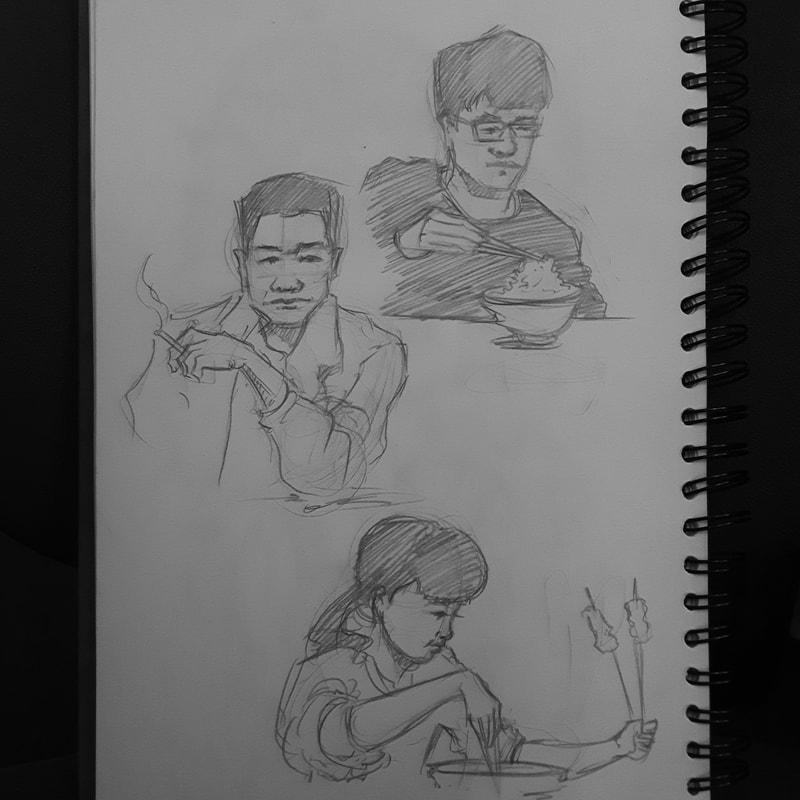 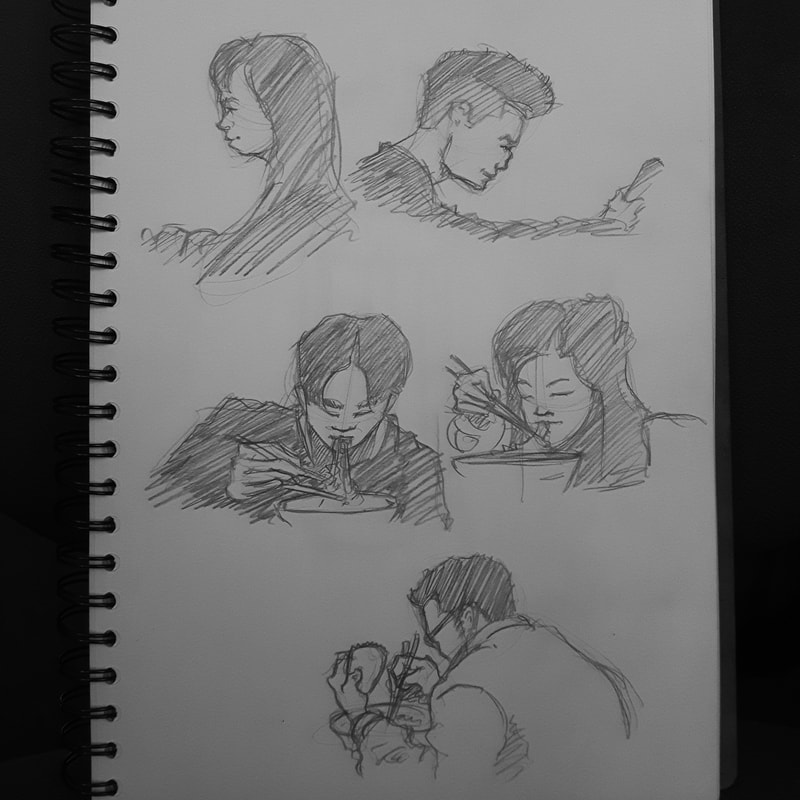 In realistic drawing we seek to give the viewer the illusion of a three dimensional composition through light and dark. This illusion is also called chiaroscuro. The first step in this process is being able to see light and dark accurately. This is the first of two exercises I recommend to gain a basic understanding of light. This exercise can be done in paint or charcoal. You’ll need: Fabriano Ingres paper or thick textured drawing paper Willow Charcoal A Chamois - or – A canvas board Black or burnt umber paint Brushes and palette Tissue Turpanoid or white spirit I recommend drawing from objects which are white or monochromatic. This means you won’t have the additional challenge of reducing colour information to black and white. Here’s the style of composition I recommend beginning with. Start with a black background and white objects. Use a single, direct light source and block out any additional light sources in the room with boards or a box. There’s nothing incorrect about multiple light sources, but they can add confusion to this exercise. Having a studio is always helpful, but as you can see it's possible to do at home. 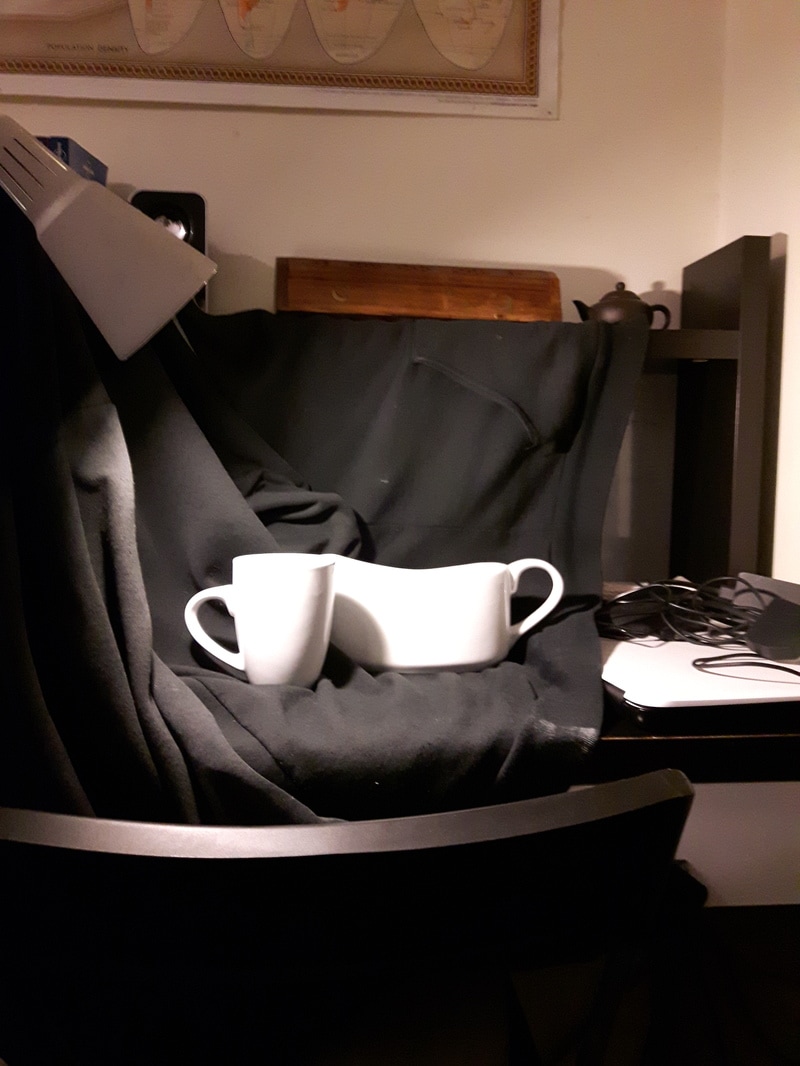 Try using a simple drawing system like the enveloping or ‘Encajar’ system that was popularised in Europe during the 19th and early 20th centuries. This example is from Charles Bargue’s lessons for students attempting to gain entry to the Ecole de Beaux Arts de Paris. 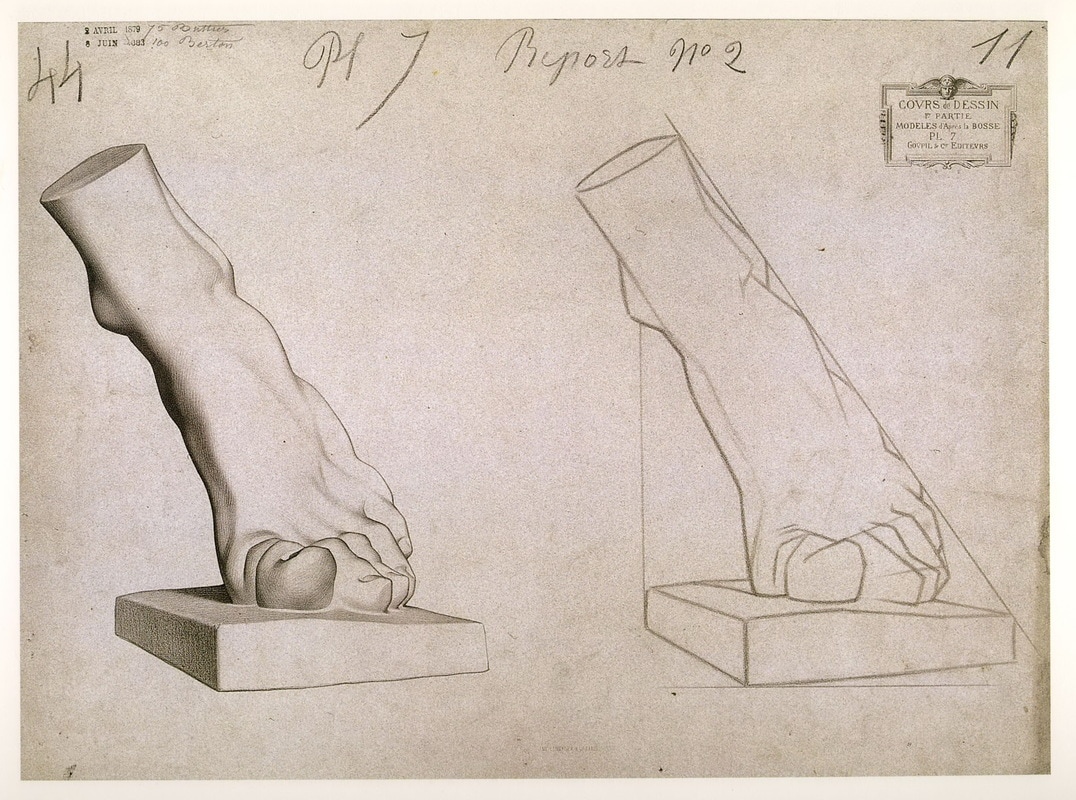 Here’s an example I’ve set up. I start by drawing a box that contains all objects in the composition. Check the proportion of the height against the width. Then draw lines cutting out the negative space and marking mid points of composition. Remember to look at the whole composition rather than drawing object by object.  Here’s another two examples. Next, draw the lines of the shadow shapes. For this exercise we will be drawing solely in two tones so ignore the fourth stage. It will be covered in Part 2. In order to reduce all of the nuanced tones to black or white, squint when you look at your subject. This will simplify the tones and push middle tones to either dark or light. 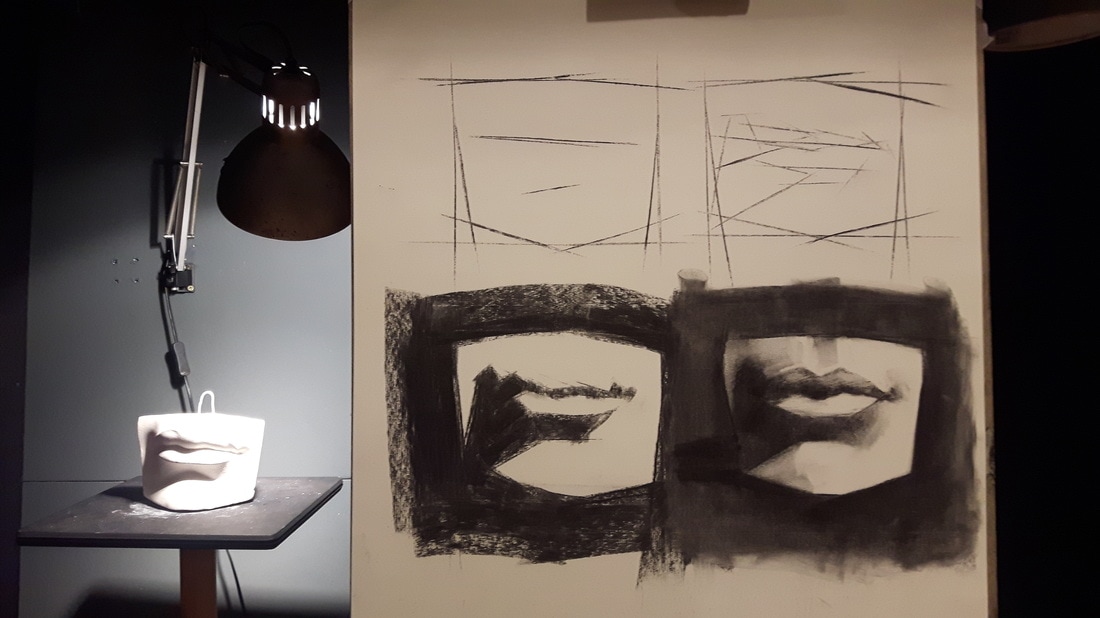 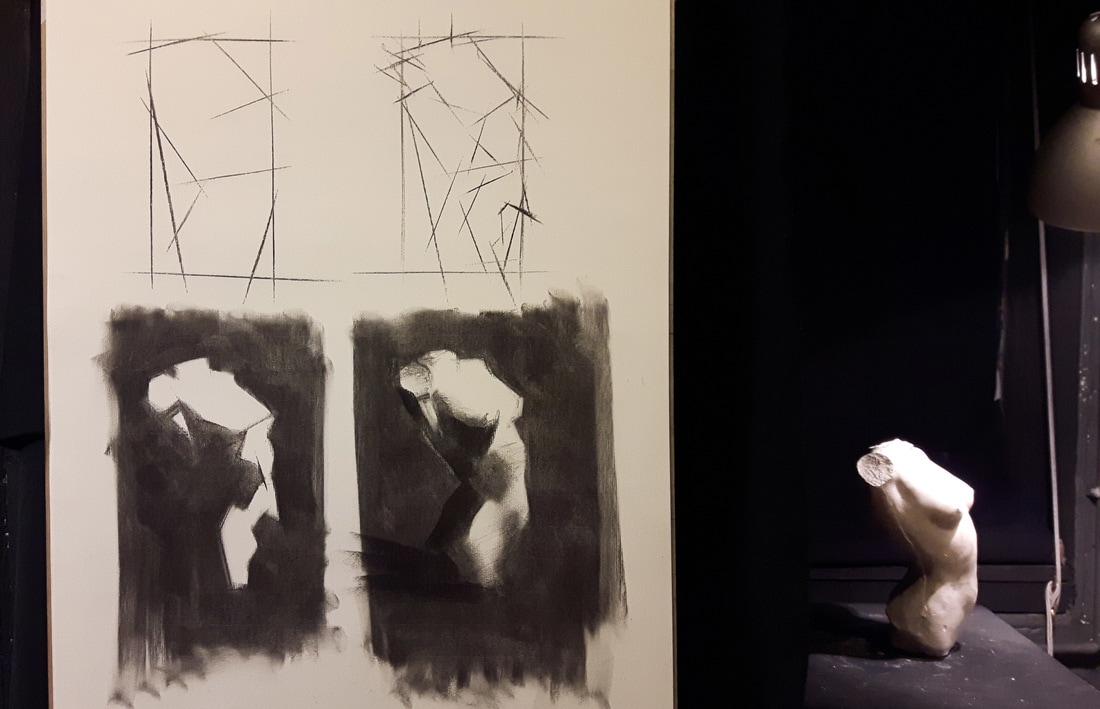 Be careful when approaching the reflected lights. Reflected lights are almost always still a dark. If you make them too light, it will flatten the image and you will lose the illusion of chiaroscuro. 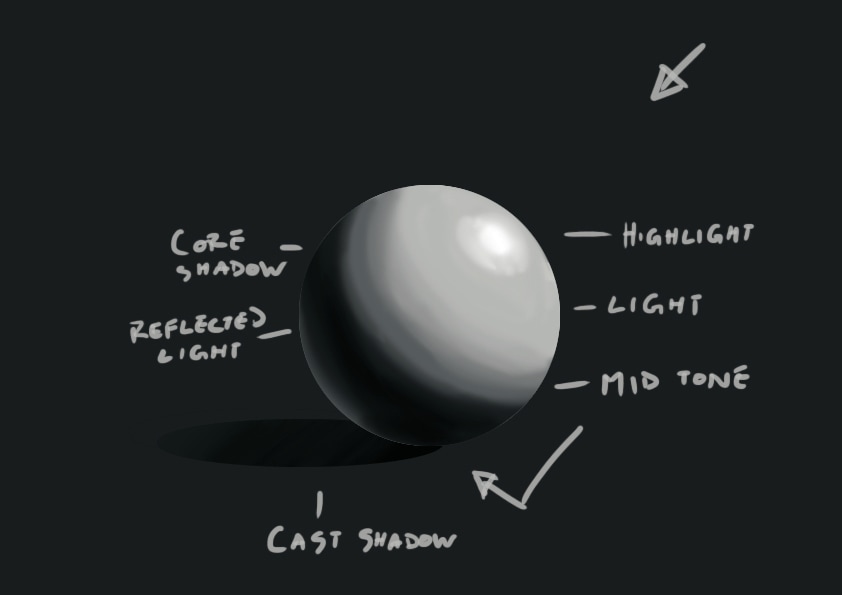 Finally colour in the dark areas using the side of a one inch piece of willow charcoal. At this point we are only drawing shapes of light and dark. So if you have an area of shadow on an object next to a dark background, there is no need to colour up to the edges of the object. Draw over your lines since the whole area is in shadow. The below example shows the direction your charcoal should move. 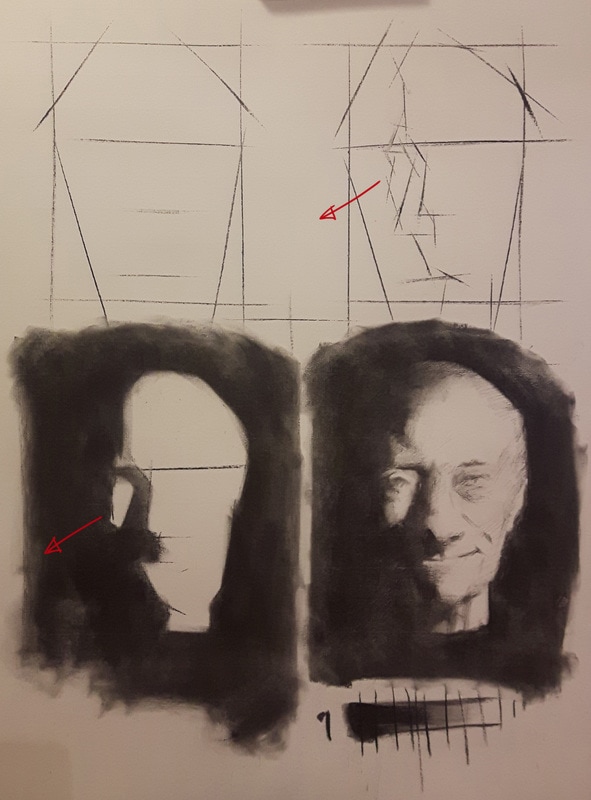 Throughout your drawing, correct any proportional errors you find. Every time you put down new information is a chance to asses what’s already on the page. Don’t be discouraged if you see a number of errors once you colour in the darks. This is normal and is one of the best moments to correct your drawing. Spend 20-30 minutes per drawing and repeat the process over and over again with different compositions. Seeing light and dark is learned through repetition. Think of this exercise the same way a musician practices scales or boxer punches focus mitts. When you feel ready try more complex objects and backgrounds like the composition above. Don’t be intimidated by any subject. Everything can be reduced to light and dark. I run classes on site and online, for more information please contact me. Over the last few weeks I’ve continued taking my Foundation 1 students through the basics of drawing and proportions (see the below demonstrations). On week for we moved on to shading and modelling. The first attempt is always a shock for students, so I’m sure I’ll have to go through a demonstration again next week. 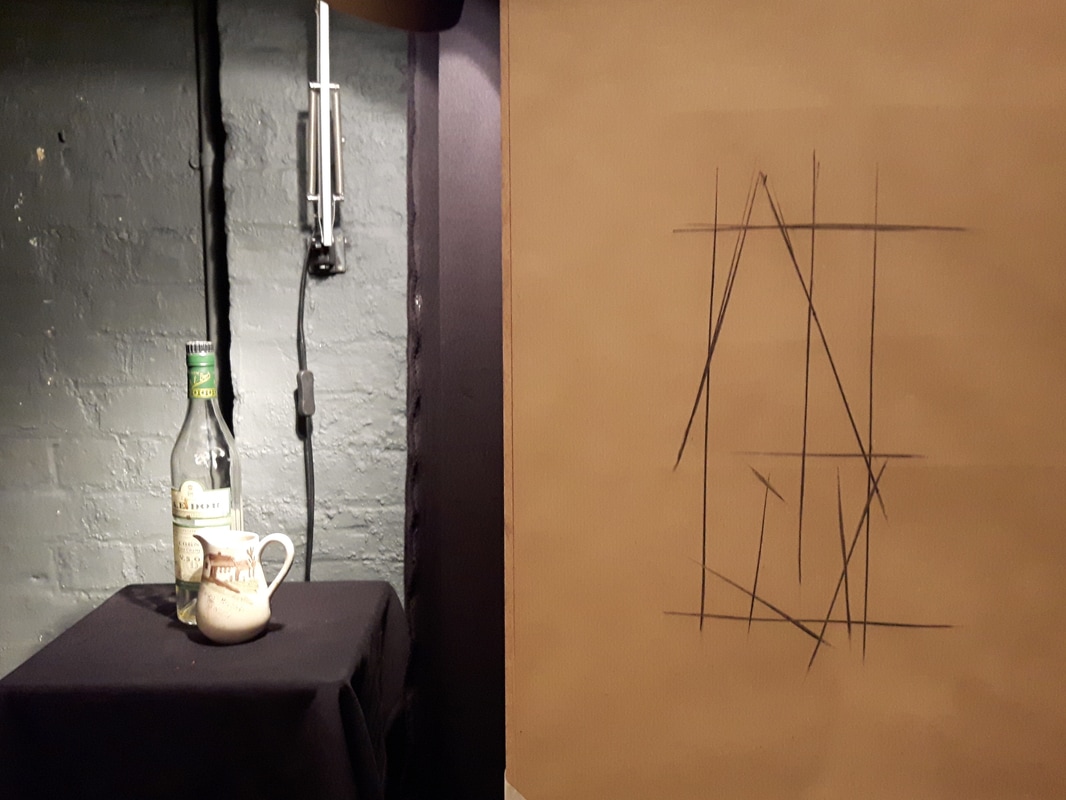  My Foundation 2 students started a 12 hour drawing. This will be their longest drawing yet, and at the moment they are very unsure about how they could draw something for 12 hours. I have a feeling next week will be mostly about learning how to push through the drudgery of polishing a drawing.
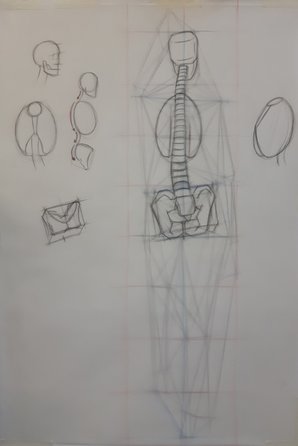
I did something slightly different with my Anatomy students this term. When we begin our 8 week project, we start by measuring the points where bone comes to skin. I find that most students struggle with this, so we spent a day going over how to measure. Following this we started our 8 week project and have begun working on skeletal anatomy.
 My students at London Fine Art Studios were very productive this week. I think my intervention last week helped get them into gear.
The Foundation Class moved onto chiaroscuro and modeling shadow shapes this week. One of my classes did exceptionally well. I think this due to strictly following instructions on how to prepare the charcoal on the page. Some evening students didn't put as much effort into following the steps and many of them found themselves struggling with the material. My anatomy students started a two week section on the basic skeletal forms. More on that next week... 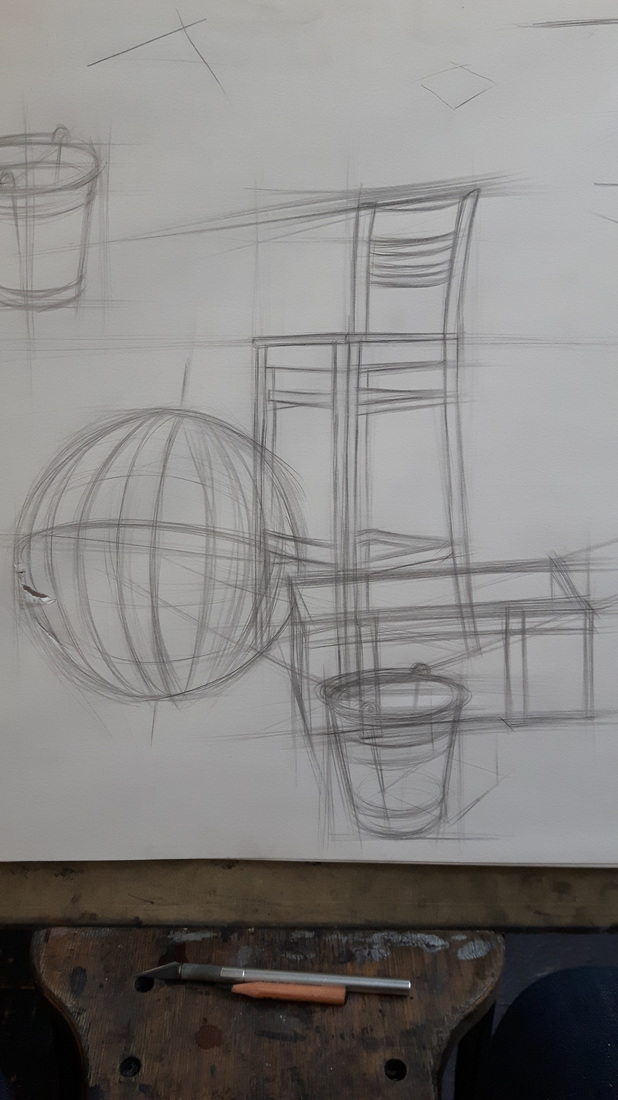 I'm back at London Fine Art Studios for the Fall term. This year I'm teaching three classes; Gesture & Anatomy and two sessions of the Foundation Course.
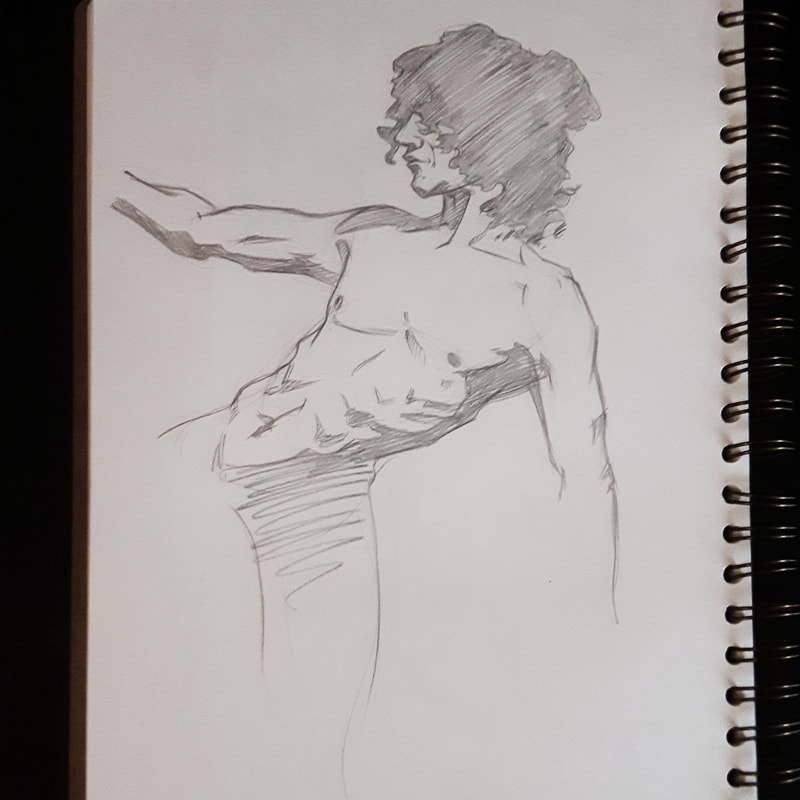
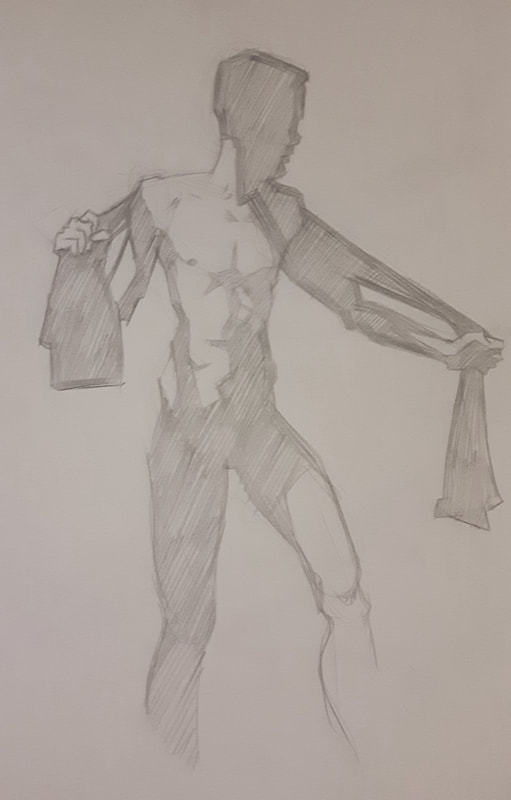
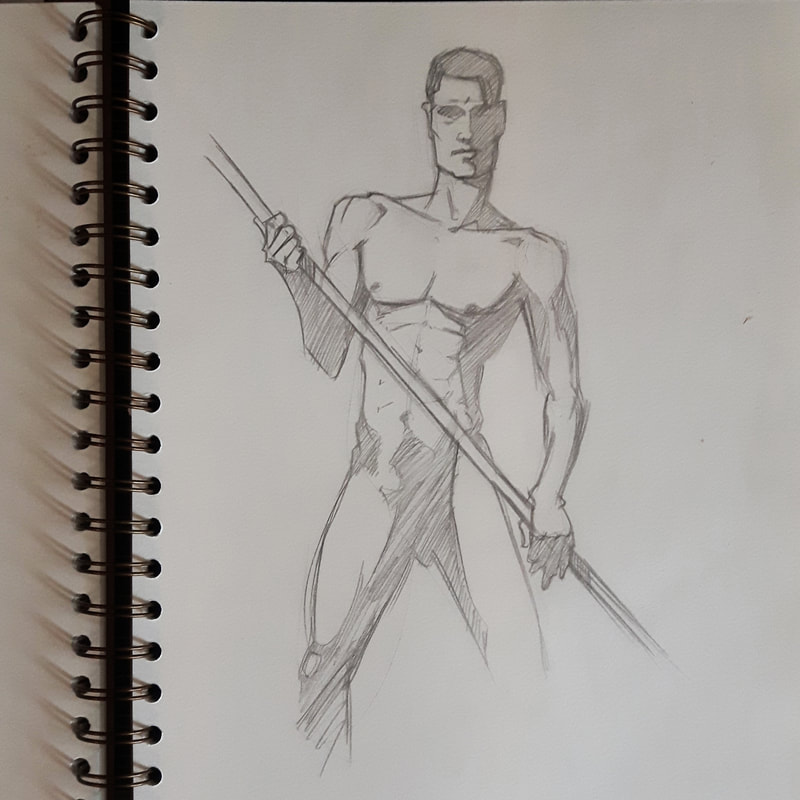
In week one I gave an introduction to drawing with charcoal to my foundation students and discussed basic drawing techniques. In my anatomy class I reviewed perspective before we start deconstructing the human figure next week. The drawing above is one of my in class demonstrations. Keep an eye on my blog for more updates! Here's some of my work from the Leighton House Museum show with Lavender Hill Studios. This series demostrates the teaching in the first half of my Gesture and Anatomy course at LHS. 1 September - 4 October 2015 Leighton House Museum 12 Holland Park Road London W14 8LZ 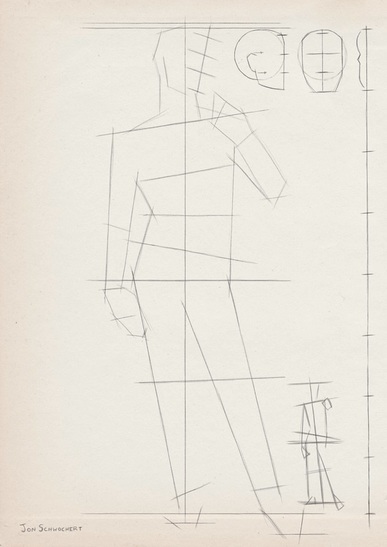 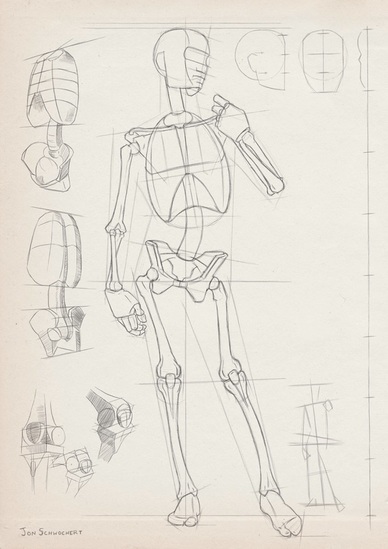 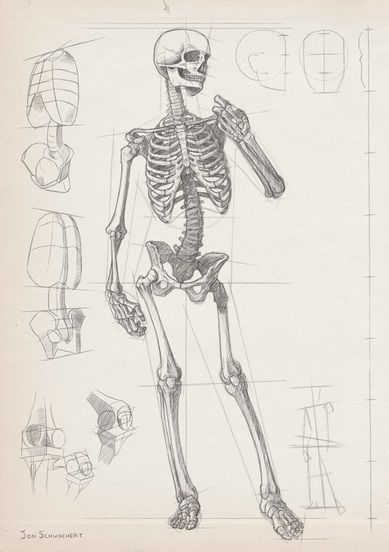 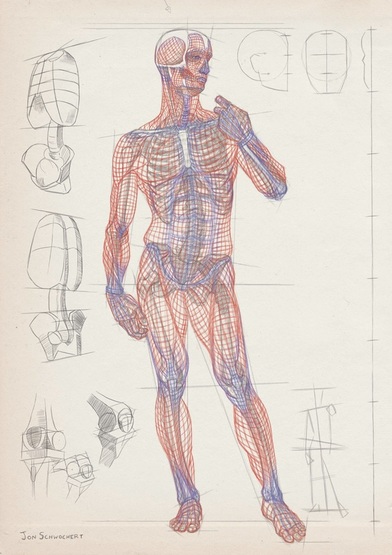 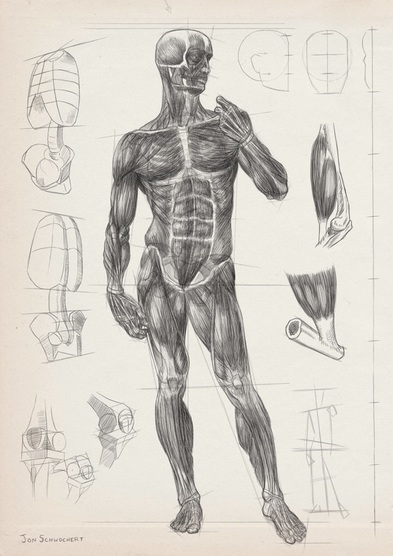  |